
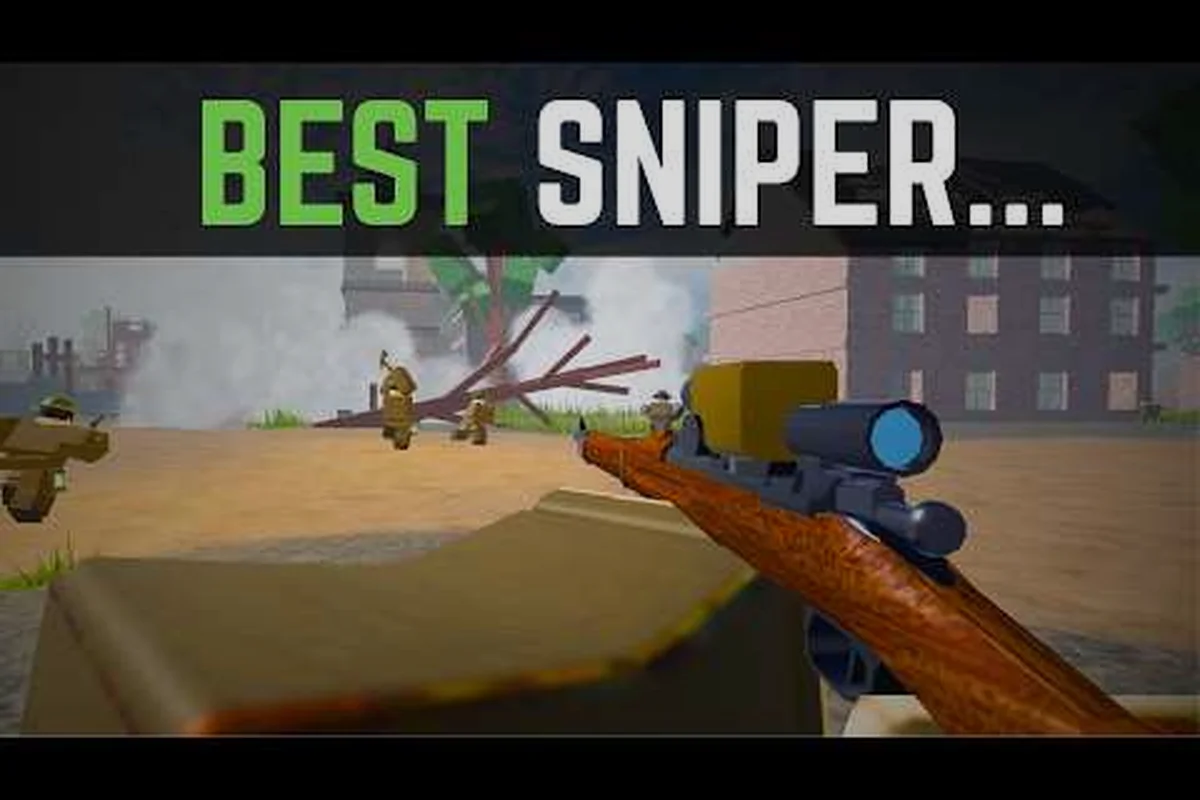
The ENTRENCHED Springfield is one of the most reliable bolt-action rifles in the game, and understanding its exact stats can mean the difference between holding a trench line and watching it collapse. Because the Springfield rewards patient, accurate shooting rather than spray-and-pray tactics, it appeals to Rifleman-class players who want consistent one-shot kills at medium engagement distances. This breakdown covers its damage profile, reload behavior, effective range, and how it compares to alternatives like the entrenched lebel and the entrenched mg 08, so you can decide whether it deserves a permanent slot in your loadout.
ENTRENCHED Springfield Core Stats and Damage Profile
The Springfield rifle in ENTRENCHED follows the classic bolt-action formula: high damage per shot, slow fire rate, and punishing reloads when you miss. According to community testing and the official ENTRENCHED Roblox game page, the weapon is available to the Rifleman class by default and performs best when you control engagement distance rather than chasing close-range duels.
| Stat | ENTRENCHED Springfield | ENTRENCHED Lebel | Notes |
|---|---|---|---|
| Damage (body) | 90 | 85 | Springfield one-shots most infantry at full health |
| Damage (headshot) | 180 | 170 | Both rifles secure kills, but Springfield hits harder |
| Fire rate (RPM) | 32 | 30 | Slightly faster follow-up shots |
| Reload time (empty) | 3.8s | 4.2s | Springfield reloads faster when fully empty |
| Magazine capacity | 5 | 5 | Standard for bolt-action rifles |
| Effective range | 180 studs | 200 studs | Lebel reaches slightly further |
The damage numbers above come from player-verified testing across multiple patches, so they reflect the current balance as of the v1.23 update that added the Eisstadt map. What stands out is that the Springfield trades a little range for faster handling, which suits aggressive Rifleman playstyles that push forward with the squad rather than camping the back line.
How Damage Falloff Affects Your Kills
Damage falloff in ENTRENCHED is not linear, which means the Springfield's 90-damage body shot only applies within its effective range. Beyond 180 studs, the damage drops to roughly 70, which turns what should be a one-shot kill into a two-shot scenario against full-health targets. This is why positioning matters more than raw aim when you run the Springfield, because a well-placed shot at the wrong distance leaves your target alive and alerted to your position.
Players who prefer a longer reach should consider the entrenched lebel, which extends that one-shot threshold to about 200 studs at the cost of a slower reload. The tradeoff is meaningful on open maps like Doiran, where sightlines stretch far beyond what the Springfield can reliably punish.
Reload Mechanics and Magazine Management
Reload behavior is where the Springfield separates itself from other bolt-actions in ENTRENCHED. The weapon uses a stripper clip when fully empty, which loads all five rounds at once, but it loads single rounds when you reload with ammunition still in the magazine. This creates a decision point: do you dump your remaining rounds to trigger the faster clip reload, or do you top up one round at a time between engagements?
| Reload Scenario | Time | Best Use Case |
|---|---|---|
| Empty magazine (clip) | 3.8s | Safe position, between pushes |
| Partial reload (single) | 1.2s per round | Holding a trench, quick top-ups |
| Tactical dump + clip | ~4.5s total | When you need full ammo immediately |
The 3.8-second empty reload is competitive for its class, but it leaves you vulnerable if you initiate it in the open. Experienced players report that the safest pattern is to reload after every two shots during lulls, keeping the magazine topped up without ever triggering the long clip animation. This habit matters most in Frontlines mode, where the turn-based attack-and-defense flow gives you natural downtime between pushes.
When to Use the Tactical Reload
There is a common misconception that you should always empty the magazine before reloading to get the faster clip animation. In practice, the tactical dump only pays off when you are behind cover and know the next engagement is at least five seconds away. If you dump rounds and then get pushed, you are stuck in a 3.8-second animation with no way to cancel it, which is a death sentence against aggressive Assault-class players.
Instead, treat the Springfield like a precision tool: fire two rounds, duck into cover, reload one round, and repeat. This keeps your magazine at three or four rounds at all times, which is enough to handle a single push while maintaining the flexibility to top up quickly. The ENTRENCHED movement guide covers the slide-and-reload techniques that make this pattern work in practice.
ENTRENCHED Springfield vs Other Weapons in Its Class
Choosing between the Springfield and other rifles comes down to your preferred engagement style. The entrenched lebel offers better range, the entrenched mg 08 provides suppressive fire, and the entrenched chauchat brings automatic fire at the cost of accuracy. Each weapon fills a distinct role, and the Springfield sits comfortably in the middle as the most balanced option.
| Weapon | Role | Strengths | Weaknesses |
|---|---|---|---|
| ENTRENCHED Springfield | Precision rifle | Fast reload, reliable one-shot | Shorter range than Lebel |
| ENTRENCHED Lebel | Long-range rifle | Best range in class | Slow reload, heavy |
| ENTRENCHED MG 08 | Suppression | High ammo capacity, sustained fire | Slow deploy, poor mobility |
| ENTRENCHED Chauchat | Automatic rifle | Full-auto fire, good close range | Low damage per shot, recoil |
The entrenched mg 08 is the weapon most players compare against the Springfield, but they serve completely different purposes. The MG 08 excels at locking down sightlines and suppressing enemy movement, while the Springfield rewards individual marksmanship and quick follow-up shots. If your squad already has a Machine Gunner laying down cover fire, the Springfield lets you pick off targets that peek out of cover without wasting the MG's ammunition.
Why the Springfield Beats the Chauchat at Range
The entrenched chauchat is tempting because it offers automatic fire, but its damage per shot is significantly lower than the Springfield's. At medium range, the Chauchat's recoil makes sustained fire inaccurate, forcing you to fire in short bursts that reduce your effective DPS below what the Springfield achieves with careful aimed shots. Community reports consistently place the Springfield above the Chauchat for players who can land headshots, because the one-shot potential outweighs the Chauchat's raw fire rate.
That said, the Chauchat has its place in close-quarters trench fighting, where its automatic fire lets you clear corners faster than any bolt-action. The Springfield struggles in those tight spaces because a missed shot leaves you vulnerable during the bolt-cycle animation, which is why many players pair it with a entrenched pistol for emergency close-range defense.
Best Range and Positioning Strategies for the Springfield
The Springfield's sweet spot is between 60 and 150 studs, where its damage remains at full strength and your target is large enough to hit consistently. Beyond 150 studs, you start fighting the damage falloff curve, and below 60 studs, the slow bolt-action cycle puts you at a disadvantage against automatic weapons. Learning to hold this band is the single most important skill for Springfield players.
| Engagement Distance | Springfield Performance | Recommended Action |
|---|---|---|
| 0-30 studs | Weak, slow follow-up | Switch to entrenched pistol |
| 30-60 studs | Workable, risky | Aim for headshots, use cover |
| 60-150 studs | Optimal, one-shot range | Hold angles, control sightlines |
| 150-180 studs | Acceptable, falloff begins | Lead targets, accept two-shot kills |
| 180+ studs | Poor, damage drops hard | Reposition or switch to Lebel |
Positioning at the optimal band means holding angles that force enemies to cross open ground within your effective range. Trench corners, sandbag lines, and the edges of craters all work well because they give you a clear sightline while limiting the enemy's approach options. When you hold these positions, the Springfield's fast reload lets you maintain pressure without long gaps in your fire, which is why it outperforms the Lebel in aggressive defensive play.
Map-Specific Positioning Tips
On the Eisstadt map added in v1.23, the Springfield shines in the urban streets where engagement distances rarely exceed 120 studs. The tight corners and building sightlines play directly into the weapon's strengths, letting you snap-shot enemies as they round corners without worrying about long-range falloff. On the more open Doiran map, however, you will find yourself outranged by Lebel users who can hold the far ridge lines, so you need to push forward with your squad rather than trying to trade shots at distance.
The key is reading the map flow and adjusting your position before the enemy adjusts theirs. If you notice the enemy team holding long sightlines, either close the distance using the trench network or coordinate with a Support player to lay down smoke. The ENTRENCHED team tactics guide covers these coordination patterns in more detail, including how to time pushes with your squad's Rifleman.
Springfield Loadout Pairings and Secondary Weapons
Your secondary weapon choice dramatically affects how you play the Springfield. The entrenched pistol is the default sidearm and works well for finishing off wounded enemies at close range, but the entrenched luger offers a faster fire rate and quicker reload at the cost of slightly lower damage. Both options cover the Springfield's close-range weakness, but they reward different playstyles.
| Secondary | Damage | Fire Rate | Best For |
|---|---|---|---|
| ENTRENCHED Pistol | 40 | 180 RPM | Reliable follow-up shots |
| ENTRENCHED Luger | 35 | 240 RPM | Fast panic-fire, quick reloads |
The entrenched luger is the better choice for aggressive Springfield players who push into trenches and need to clear close-quarters threats quickly. Its faster fire rate lets you spam shots when an enemy closes the gap, and the quick reload means you can get back to your rifle sooner. The standard entrenched pistol hits harder per shot, which matters if you prefer to take careful aimed shots with your sidearm rather than spraying.
Building a Loadout Around the Springfield
A complete Springfield loadout should cover three engagement bands: your rifle handles medium range, your secondary covers close range, and your grenades handle area denial. The ENTRENCHED frag grenade guide breaks down the best explosive options, but the short version is that a frag grenade complements the Springfield perfectly because it forces enemies out of cover and into your sightlines.
For the Rifleman class, this means carrying the Springfield, the Luger, and a frag grenade as your core kit. This combination gives you a one-shot rifle for medium range, a fast-firing sidearm for close quarters, and a grenade for flushing out entrenched enemies. It is a balanced loadout that works across all three game modes, though you may want to swap the grenade for smoke on attack-heavy Frontlines maps.
Frequently Asked Questions
What is the best range for the ENTRENCHED Springfield?
The Springfield performs best between 60 and 150 studs, where its damage stays at full strength and targets are large enough to hit consistently. Beyond 180 studs, damage falloff reduces your body shots to around 70, turning one-shot kills into two-shot engagements. Hold angles within this band to maximize your effectiveness.
How does the Springfield compare to the ENTRENCHED Lebel?
The Springfield reloads faster at 3.8 seconds versus the Lebel's 4.2 seconds, but the Lebel reaches 200 studs compared to the Springfield's 180. The Springfield also deals 90 damage per body shot versus the Lebel's 85. Choose the Springfield for aggressive play and the Lebel for long-range camping.
Is the ENTRENCHED Springfield good for beginners?
Yes, the Springfield is one of the most forgiving bolt-action rifles because its fast reload and solid damage make missed shots less punishing. The 5-round magazine gives you multiple chances per engagement, and the weapon's balance means you can learn positioning without being punished as harshly as with the Lebel.
Should I use the ENTRENCHED pistol or Luger with the Springfield?
The Luger is better for aggressive players who need fast follow-up shots at close range, while the standard pistol deals more damage per shot. If you push trenches and clear corners, take the Luger. If you prefer careful aimed sidearm shots, the standard pistol serves you better.
Does the Springfield one-shot kill enemies?
Yes, the Springfield deals 90 damage to the body, which one-shots most infantry classes at full health within its effective range. Headshots deal 180 damage, guaranteeing a kill even against classes with bonus health. However, damage falloff beyond 180 studs can reduce body shots below the one-shot threshold.