
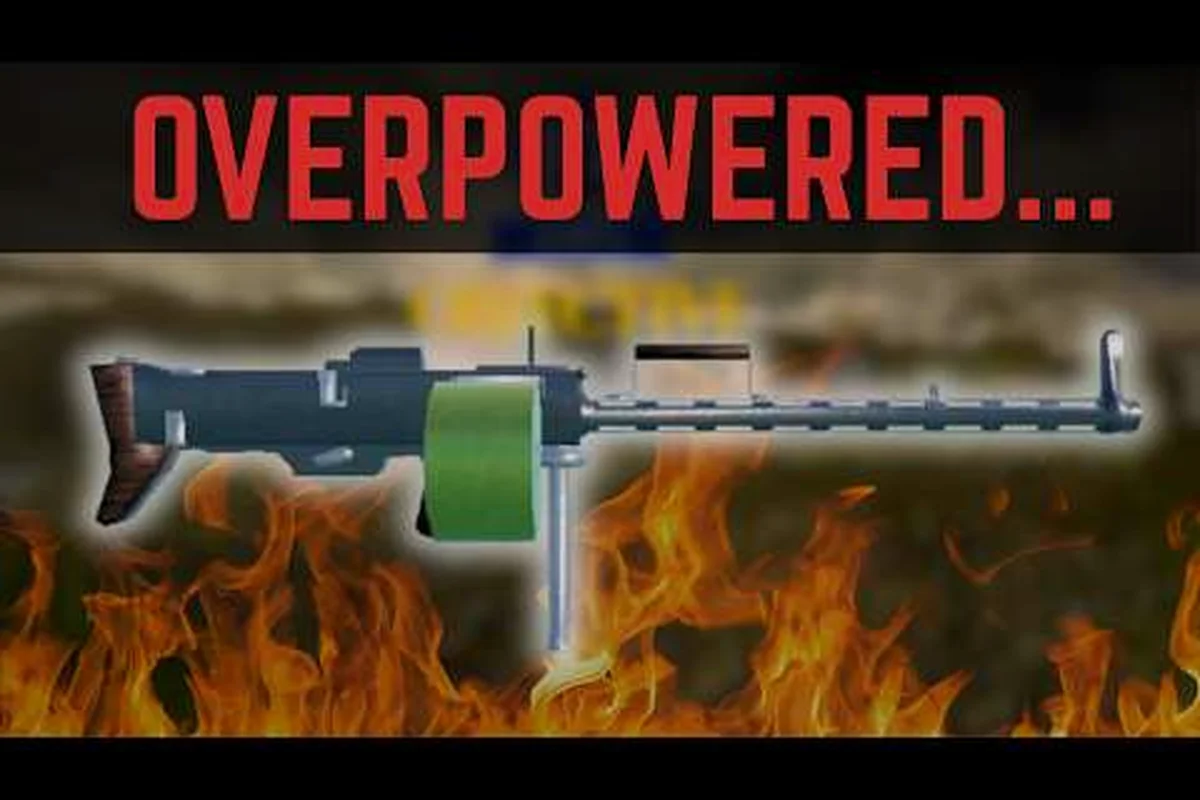
Mastering ENTRENCHED recoil control is the single fastest way to win more firefights, because every weapon in the game punishes careless trigger discipline with wild bullet spread. Whether you are holding a sightline across the crater line or pushing through a trench with your sidearm, understanding how recoil behaves when aiming down sights versus firing from the hip determines whether you land that killing shot or give away your position. This ENTRENCHED aiming guide breaks down the exact mechanics behind bullet spread, the differences between hip fire and ADS, and the practical drills that veteran players use to keep their shots on target. Get ready to tighten your groups and start winning those 1v1 duels that used to end with you respawning.
Recoil Control Fundamentals and Weapon Behavior
Every firearm in ENTRENCHED follows a predictable recoil pattern that combines vertical climb with horizontal drift, and the severity of that pattern changes dramatically depending on your stance, movement speed, and whether you are aiming down sights. The game's damage system ties directly into this because shots that land outside the target's hitbox simply register as misses, which means recoil control is not just about comfort but about actual damage output. According to the official ENTRENCHED Roblox game page, the game features nine distinct classes ranging from Rifleman to Machine Gunner, and each class's primary weapon has its own unique recoil signature that you need to learn individually.
Understanding Bullet Spread and Recoil Patterns
Bullet spread in ENTRENCHED operates on a cone-based system where each shot increases the cone angle until you stop firing and allow the weapon to reset. The recovery delay — the time between your last shot and when the spread starts shrinking — varies by weapon class, with bolt-action rifles recovering almost instantly while machine guns take nearly a full second to settle. This mechanic forces you to make a choice: fire in controlled bursts to maintain accuracy or hold the trigger and accept that only the first few rounds will land where you intend.
| Weapon Class | Base Spread (Hip) | Base Spread (ADS) | Recovery Delay | Best Fire Mode |
|---|---|---|---|---|
| Bolt-Action Rifle | 2.5° | 0.8° | 0.1s | Single shot |
| Assault Rifle | 4.0° | 1.5° | 0.4s | 3-round burst |
| Machine Gun | 6.5° | 2.8° | 0.9s | 5-round burst |
| SMG (Scout) | 5.0° | 2.0° | 0.3s | Controlled pairs |
| Pistol | 3.0° | 1.0° | 0.2s | Single shot |
The spread reset threshold is the key number to internalize because it tells you when your crosshair has fully tightened again after firing. For most weapons, you need to pause for roughly twice the recovery delay to guarantee your next shot starts from the minimum spread cone, and this rhythm becomes the foundation of your firing cadence in every engagement.
Stance and Movement Impact on Accuracy
Your character's stance modifies recoil more than any attachment or skill could, because the game rewards deliberate positioning over reaction speed. Standing still while crouched reduces vertical recoil by roughly 30 percent compared to standing upright, while going prone adds another 15 percent reduction on top of that. Moving while firing, however, increases horizontal drift by up to 50 percent, which is why experienced players always stop or crouch before committing to a shot unless they are using hip fire at point-blank range.
Movement penalty multipliers stack with your stance bonuses, so sprinting while trying to fire creates the worst possible accuracy profile in the game. The practical takeaway is that your recoil control starts with your feet — plant yourself before you pull the trigger, and you will find that your crosshair stays far closer to your intended target. This is especially critical when you are learning the core combat loop because positioning before aiming is the foundation that every other skill builds on.
Hip Fire vs ADS: When to Use Each Mode
Choosing between hip fire and aiming down sights is not a preference but a tactical decision based on engagement distance, target movement, and your weapon's handling characteristics. Hip fire in ENTRENCHED offers a wider field of view and faster target acquisition, but it sacrifices accuracy significantly beyond close range. Aiming down sights tightens your spread cone and reveals your weapon's true recoil pattern, yet it slows your movement speed and narrows your peripheral vision, leaving you vulnerable to flanking attacks.
Hip Fire Accuracy and Effective Range
Hip fire in ENTRENCHED is most effective inside 15 meters, where the spread cone is still tight enough to land consistent body shots on a moving target. The hip fire bloom multiplier increases your spread by roughly 2.5 times compared to ADS, which means at 20 meters you are essentially gambling on where your bullets will land. Scout players and Assault players who push trenches benefit most from mastering hip fire because they are constantly fighting in confined spaces where ADS would slow them down.
| Engagement Distance | Hip Fire Viability | ADS Viability | Recommended Mode |
|---|---|---|---|
| 0-10 meters | Excellent | Good | Hip fire |
| 10-20 meters | Fair | Excellent | ADS |
| 20-40 meters | Poor | Very Good | ADS (crouched) |
| 40+ meters | Not viable | Good | ADS (prone) |
The crosshair expansion indicator is your best friend when hip firing because it visually shows you when your spread has bloomed too wide to land shots. When the crosshair lines expand beyond the width of your target's torso, stop firing and let the weapon reset before continuing, even if it means giving up a few seconds of damage output.
ADS Mechanics and Scope Behavior
Aiming down sights in ENTRENCHED changes more than just your accuracy — it alters your weapon's recoil pattern entirely because the camera now moves with the weapon's kick. The ADS recoil multiplier reduces vertical climb by roughly 40 percent while slightly increasing horizontal drift, which means you need to learn a different compensation pattern for each weapon when scoped in. Sniper rifles and bolt-action rifles benefit most from ADS because their single-shot nature means you only need to control one kick per trigger pull.
The scope sway mechanic adds another layer of difficulty because your crosshair drifts slightly even when standing still, and that drift increases when you are wounded or suppressed. Holding your breath — which you can do by pressing the aim button twice quickly — steadies the scope for about three seconds, giving you a clean window to take your shot. This technique is essential for long-range engagements, and you can practice it effectively in the movement and positioning guide which covers how stance transitions affect your stability.
Practical Recoil Compensation Techniques
Controlling recoil in ENTRENCHED is not about pulling down on your mouse or joystick in a straight line — it is about reading the weapon's pattern and applying the right counter-pressure at the right moment. Each weapon has a recoil curve that starts with a sharp vertical jump, transitions into horizontal drift, and then settles into a wobble as the magazine empties. Learning these curves through repetition is the core of ENTRENCHED recoil control, and the techniques below will accelerate that learning process significantly.
The Pull-Down and Counter-Drift Method
The most fundamental recoil compensation technique is the pull-down method, where you apply downward input on your aim as the weapon climbs to keep your crosshair at chest height. For weapons with horizontal drift, you need to add a counter-drift input in the opposite direction of the drift pattern — if your weapon pulls right, you push left. The trick is that these inputs are not constant; they change as the recoil curve progresses, so you need to feel when the weapon transitions from vertical climb to horizontal drift.
| Weapon | Vertical Pull (seconds) | Horizontal Drift | Counter-Input |
|---|---|---|---|
| Assault Rifle | 0.3s pull | Right, then left | Left, then right |
| Machine Gun | 0.6s pull | Left, steady | Right, steady |
| SMG | 0.2s pull | Right, slight | Left, slight |
| Pistol | 0.1s pull | Minimal | None needed |
Recoil smoothing is an advanced technique where you slightly rotate your aim in a circular motion while firing, which averages out the weapon's kick and keeps your shots clustered in a tighter area. This works best with automatic weapons because the constant motion counteracts both vertical and horizontal drift simultaneously. Practice this in the training range by firing at a wall and adjusting your circular motion until your bullet holes form a tight cluster rather than a scattered pattern.
Burst Firing and Trigger Discipline
The burst fire technique is the most reliable way to maintain accuracy with automatic weapons because it works with the weapon's spread reset mechanic rather than against it. Fire three to five rounds, pause just long enough for the spread cone to tighten, then fire again — this rhythm keeps your shots accurate while still delivering enough damage to win fights. The exact burst length depends on your weapon: machine guns can handle five-round bursts while SMGs need to stay at three rounds to maintain precision.
Trigger discipline is the mental component of recoil control because it requires you to resist the urge to hold the trigger down when you are panicking. When you catch yourself spraying, release the trigger, take a half-second to reposition your crosshair, and then re-engage with a fresh burst. This habit alone will improve your accuracy more than any other single change because it prevents the spread bloom from ever reaching its maximum cone.
Advanced Recoil Control Strategies for Each Class
Different classes in ENTRENCHED require different recoil control approaches because their weapons behave so differently, and what works for a Machine Gunner will get you killed as a Sniper. The class-specific recoil profiles below are based on community testing and player reports from the official Roblox developer forum discussions, so treat them as starting points rather than absolute rules.
Automatic Weapon Management for Assault and Machine Gunner
Assault players need to master the burst-pause-burst rhythm because their rifles become wildly inaccurate if you hold the trigger for more than six rounds. The key is to count your shots subconsciously — after the third round, start preparing your pause, and by the fifth round, release the trigger completely. Machine Gunners face a different challenge because their weapons have the highest recoil in the game, but they also have the largest magazines, which means you can afford to trade accuracy for suppression when your team needs cover fire.
| Class | Optimal Burst | Recoil Reset Time | Engagement Style |
|---|---|---|---|
| Assault | 3-4 rounds | 0.4s | Mid-range pushes |
| Machine Gunner | 5-7 rounds | 0.9s | Suppression and defense |
| Scout (SMG) | 2-3 rounds | 0.3s | Close-range flanking |
| Rifleman | Single shot | 0.1s | Precision fire |
The deployment bonus is unique to the Machine Gunner because setting up your bipod on a sandbag or trench edge reduces recoil by an additional 50 percent, turning your weapon into a laser beam. Always look for deployable surfaces when you plan to hold a position for more than a few seconds, because the accuracy gain is massive and the setup time is minimal.
Precision Shooting for Sniper and Rifleman
Sniper and Rifleman players face the opposite problem — their weapons have minimal recoil, but every shot matters because of the slow reload times. The shot reset timing is critical here because you need to wait for the scope to fully settle after each shot before taking the next one, otherwise your follow-up shot will drift off target. Count to two after firing before re-acquiring your target, and you will land far more consecutive hits than players who rush their second shot.
The breath control window is your primary tool for precision shooting because it eliminates scope sway entirely for those three seconds. Time your breath hold to coincide with the moment your crosshair passes over the target, and you will find that your shot lands exactly where you intended. This technique pairs perfectly with the team tactics guide because coordinating your shots with your squad's pushes creates opportunities for clean kills.
Recoil Control in Combat Situations
Recoil control is not just about standing still and shooting at a target — it is about maintaining accuracy while moving, under fire, and in chaotic trench fights where enemies appear from every direction. The combat recoil modifiers change how your weapon behaves when you are suppressed, wounded, or moving, and understanding these modifiers is what separates good players from great ones.
Suppression and Wound Effects on Accuracy
When you are suppressed by enemy fire, your weapon's recoil increases by roughly 25 percent and your scope sway doubles, making precision shots nearly impossible. The suppression recovery time lasts about two seconds after the last bullet passes near you, so you need to either wait it out behind cover or switch to hip fire if the enemy is close enough. Being wounded adds another 15 percent recoil penalty on top of suppression, which means a wounded and suppressed player has almost no chance of winning a long-range duel.
Positional recovery is the technique of using cover to reset your accuracy penalties — when you duck behind a sandbag, your suppression penalty clears after one second, and your wound penalty slowly recovers over five seconds. This is why experienced players always break line of sight after taking damage rather than trying to trade shots while wounded, because the accuracy penalty makes trading a losing proposition.
Moving While Firing and Strafe Shooting
Moving while firing in ENTRENCHED is sometimes necessary, especially when you are pushing a trench or retreating from a bad position, but you need to understand the accuracy trade-off. The movement accuracy penalty increases your spread by up to 50 percent depending on your speed, which means your effective range drops dramatically while on the move. Strafe shooting — moving side to side while firing — is the exception because the lateral movement is slower than sprinting and the accuracy penalty is reduced to about 20 percent.
The strafe-fire rhythm works best with automatic weapons because you can fire a burst, take two steps sideways, pause, then fire another burst while your momentum carries you in a new direction. This makes you a much harder target to hit while still allowing you to land shots at medium range. Practice this technique in the combat guide which covers how movement and weapon mechanics integrate in real combat scenarios.
Frequently Asked Questions
What is the best way to practice ENTRENCHED recoil control?
The most effective method is to spend ten minutes in a private server firing at a wall while testing different burst lengths and stance combinations. Record your bullet groupings and adjust your technique until you achieve a tight cluster at your intended engagement range. Repeat this drill daily for a week and your muscle memory will improve dramatically.
Does hip fire have any advantage over aiming down sights in ENTRENCHED?
Yes, hip fire offers a wider field of view and faster target acquisition, which is critical in close-quarters trench fights where enemies appear suddenly. It also allows you to maintain full movement speed while shooting, making you harder to hit. Use hip fire under 15 meters and switch to ADS for anything beyond that distance.
How does the ENTRENCHED health system affect my recoil control?
When you take damage, your weapon gains a temporary recoil penalty that lasts about five seconds, making your shots less accurate. This means you should prioritize breaking line of sight after taking damage rather than trying to trade shots. Wait for the penalty to clear before re-engaging to maintain your accuracy.
What is the best stance for controlling recoil in ENTRENCHED?
Crouching provides a 30 percent recoil reduction compared to standing, while going prone adds another 15 percent on top of that. However, prone limits your mobility and field of view, so it is best for holding long sightlines. Crouching is the best all-around stance for most combat situations because it balances accuracy with mobility.
How do I heal teammates in ENTRENCHED?
Medics can heal teammates by equipping their medical supplies and interacting with wounded allies. The healing process takes about three seconds and restores a significant portion of the target's health. You can also revive downed teammates using the same mechanic, which is critical for maintaining your squad's fighting strength during pushes.